
Main node of Linksys Velop WiFi
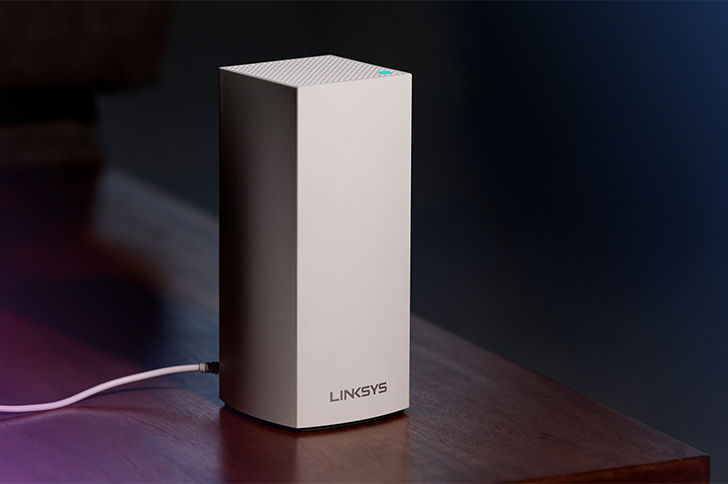
Supplementary nodes

Current modem

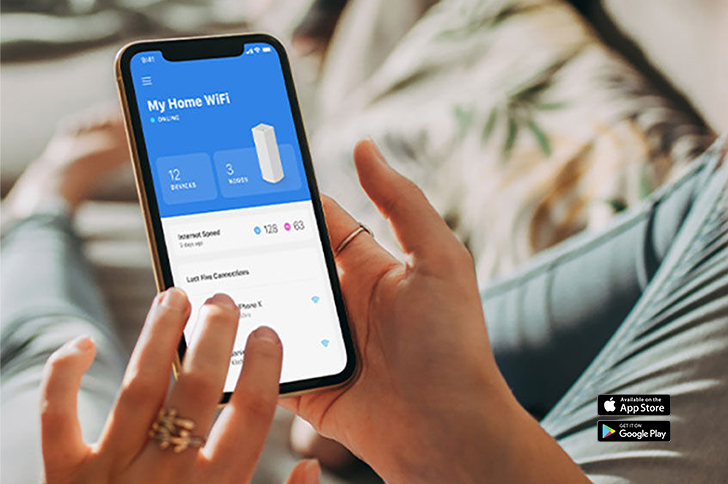
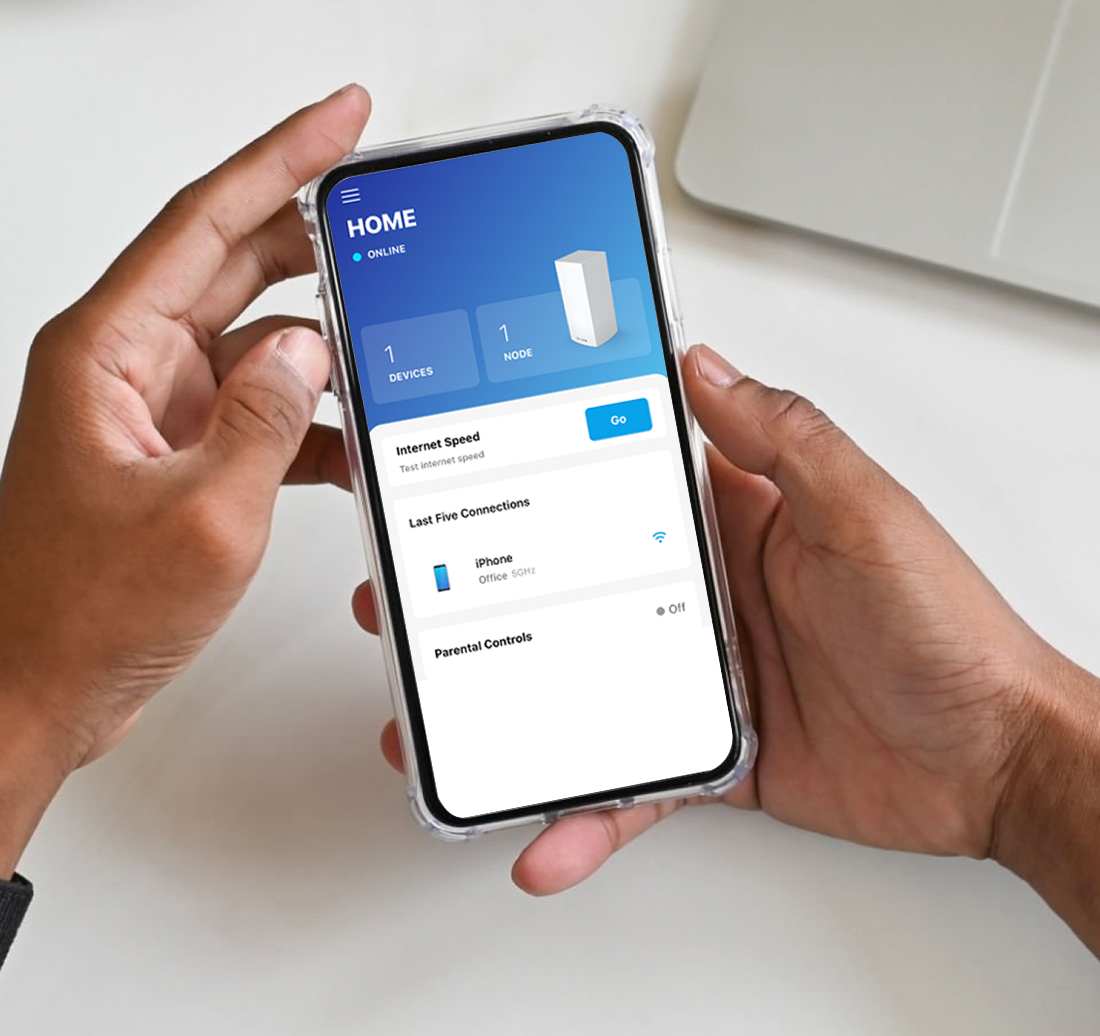
A smartphone or tablet
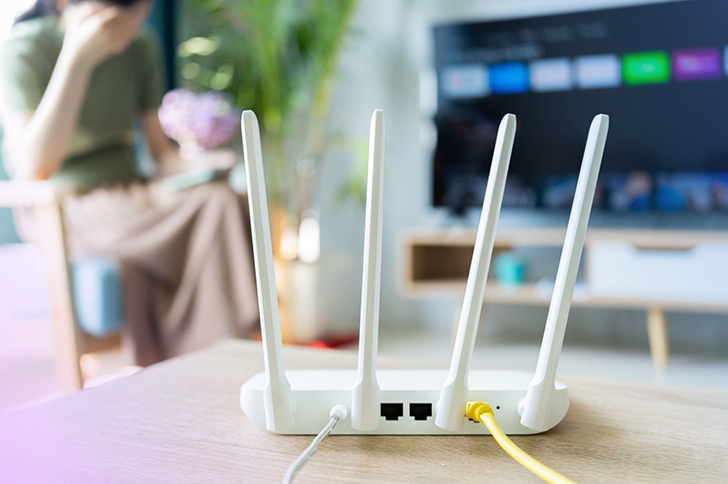
Ethernet cable located near the modem


Main node of Linksys Velop WiFi
Supplementary nodes
Current modem
A smartphone or tablet
Ethernet cable located near the modem